

Key Takeaways
- Adjust color temperature based on personal preference and use case to enhance visuals on your gaming monitor.
- Enable pixel overdrive to reduce ghosting and input latency, but be cautious not to apply too much overdrive.
- Disable auto brightness to avoid distracting dimming effects, and manually adjust brightness at a comfortable level for optimal gaming experience.
It’s true that the best monitors offer a simple plug-and-play experience, but you typically have to change several settings to get the best output. Most gaming monitors don’t even use optimized or some of the advertised settings out of the box. It’s crucial to manually calibrate them to make sure you’re not leaving any performance enhancements on the table. If you’re not sure where to start, there are a few places you can check first.
5 Adjust the color temperature
Highly specific to certain use cases
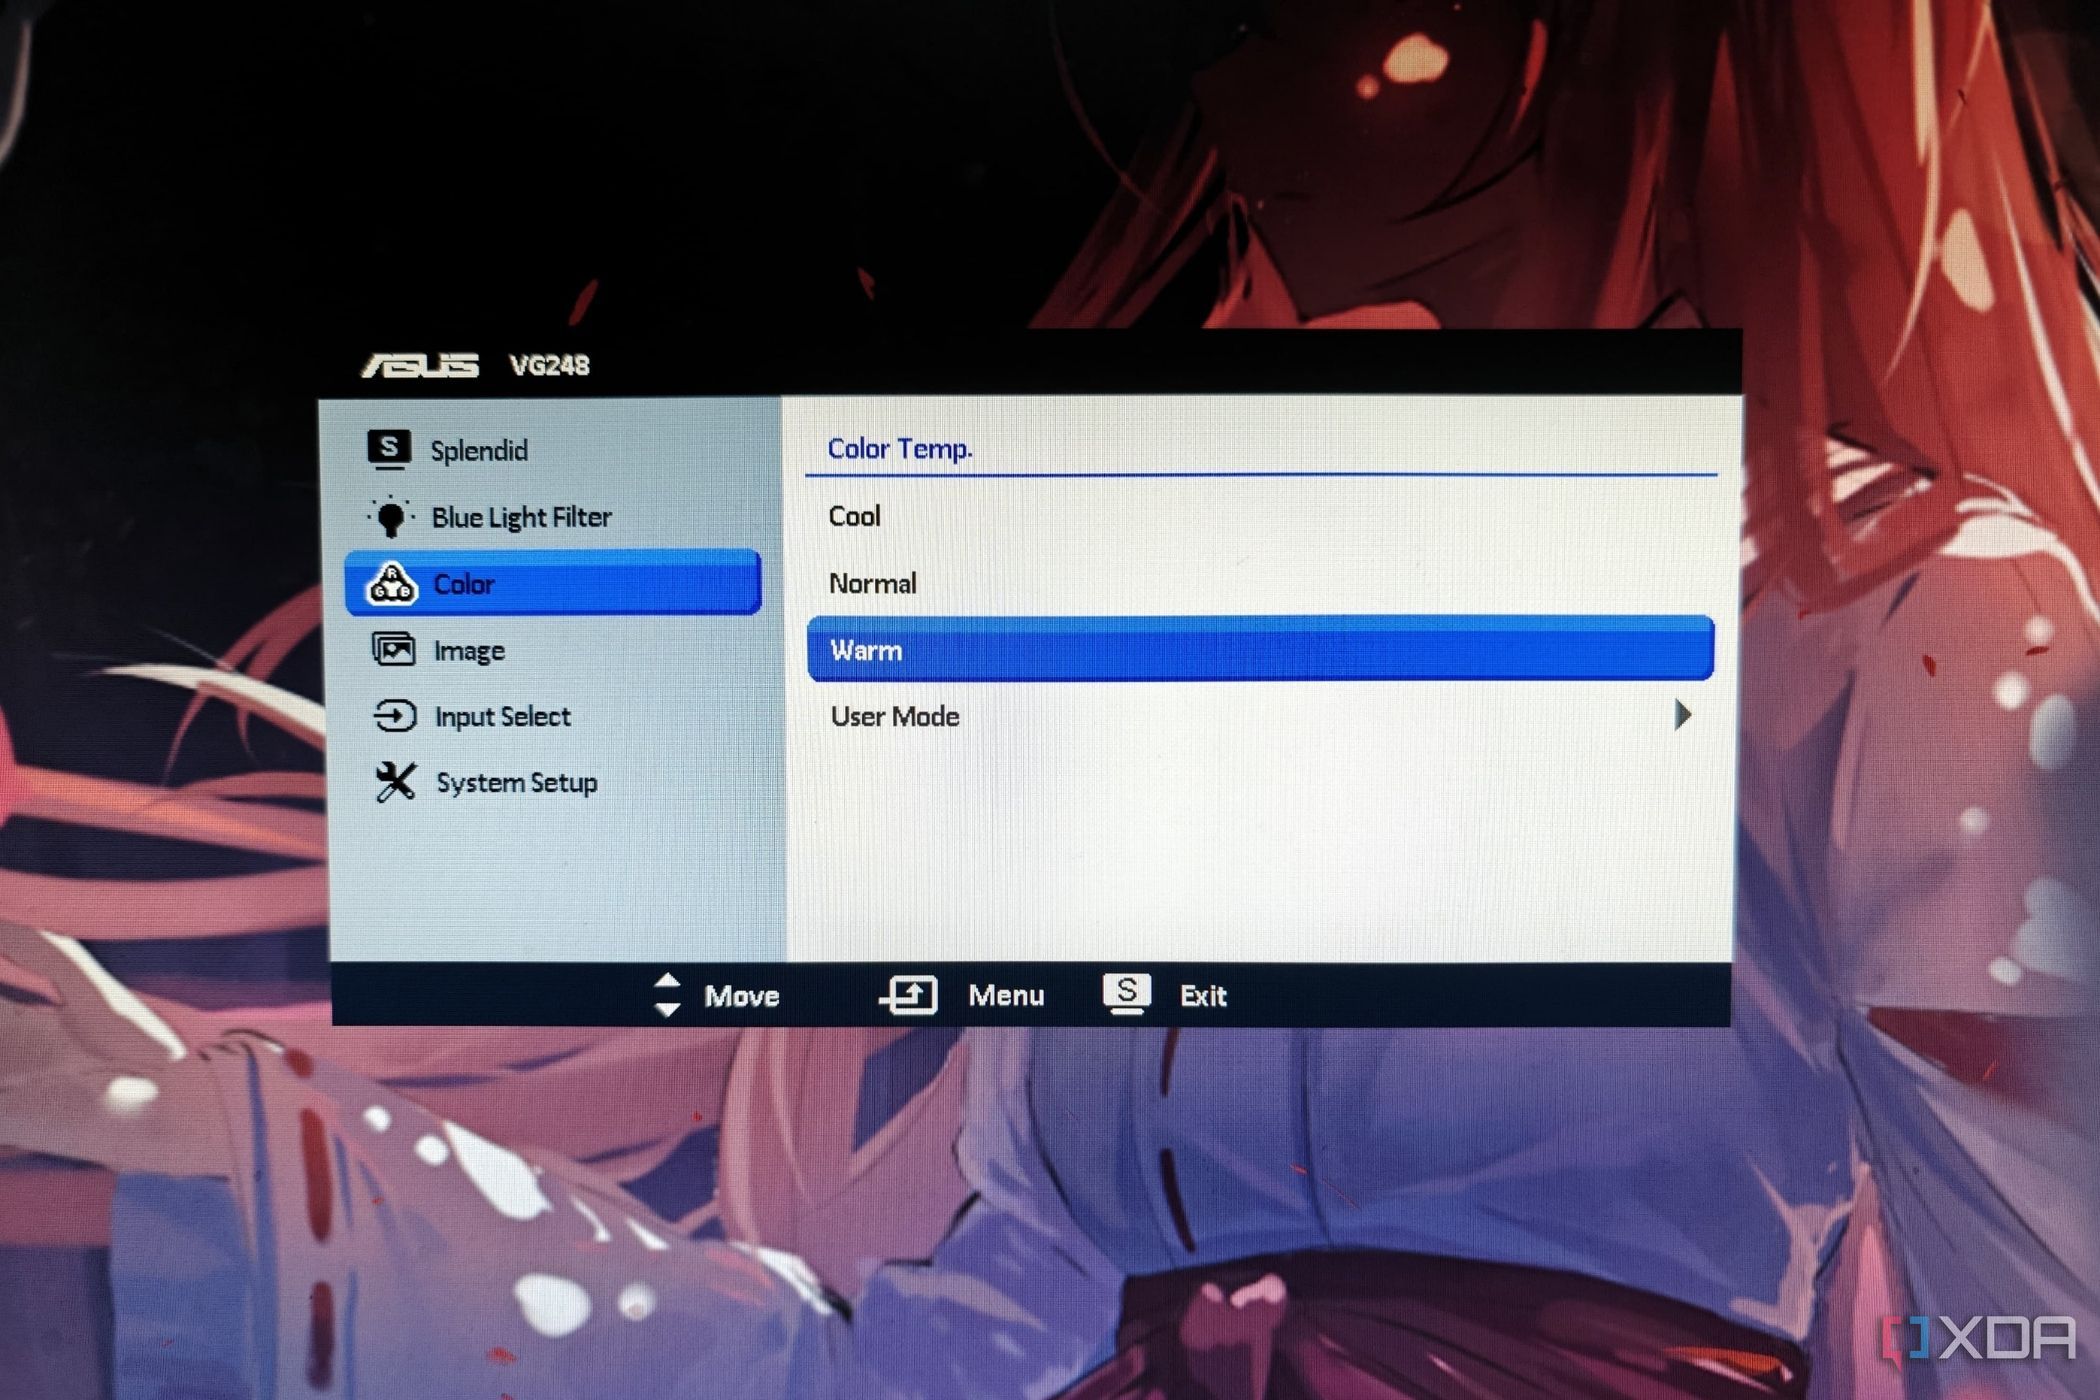
This is a setting I tweak on a per-game basis on my gaming monitor, and I recommend you do the same based on what you use your monitor for. Most monitors on the market come with various color temperature options, which may be calibrated unevenly. Unless you have a colorimeter to find the white point of the panel and adjust the settings from there, I suggest going by what you see on the panel. I find some game worlds feel more vibrant with the color palette set to the warmer end of the spectrum, while others look better when set to a lower color temperature.
Some gaming monitors list values for color temperatures ranging anywhere from 4000K to 10000K, while most simply cite these settings as cool, warm, and user mode. It’s better to go by the feel in any case, as the color temperature of the panel has a drastic effect on how the visuals look both in and out of games. Most gaming monitors are calibrated to show cool colors out of the box, and I highly recommend trying out the warmer colors before you settle for another.
4 Enable pixel overdrive
Reduce ghosting and input latency
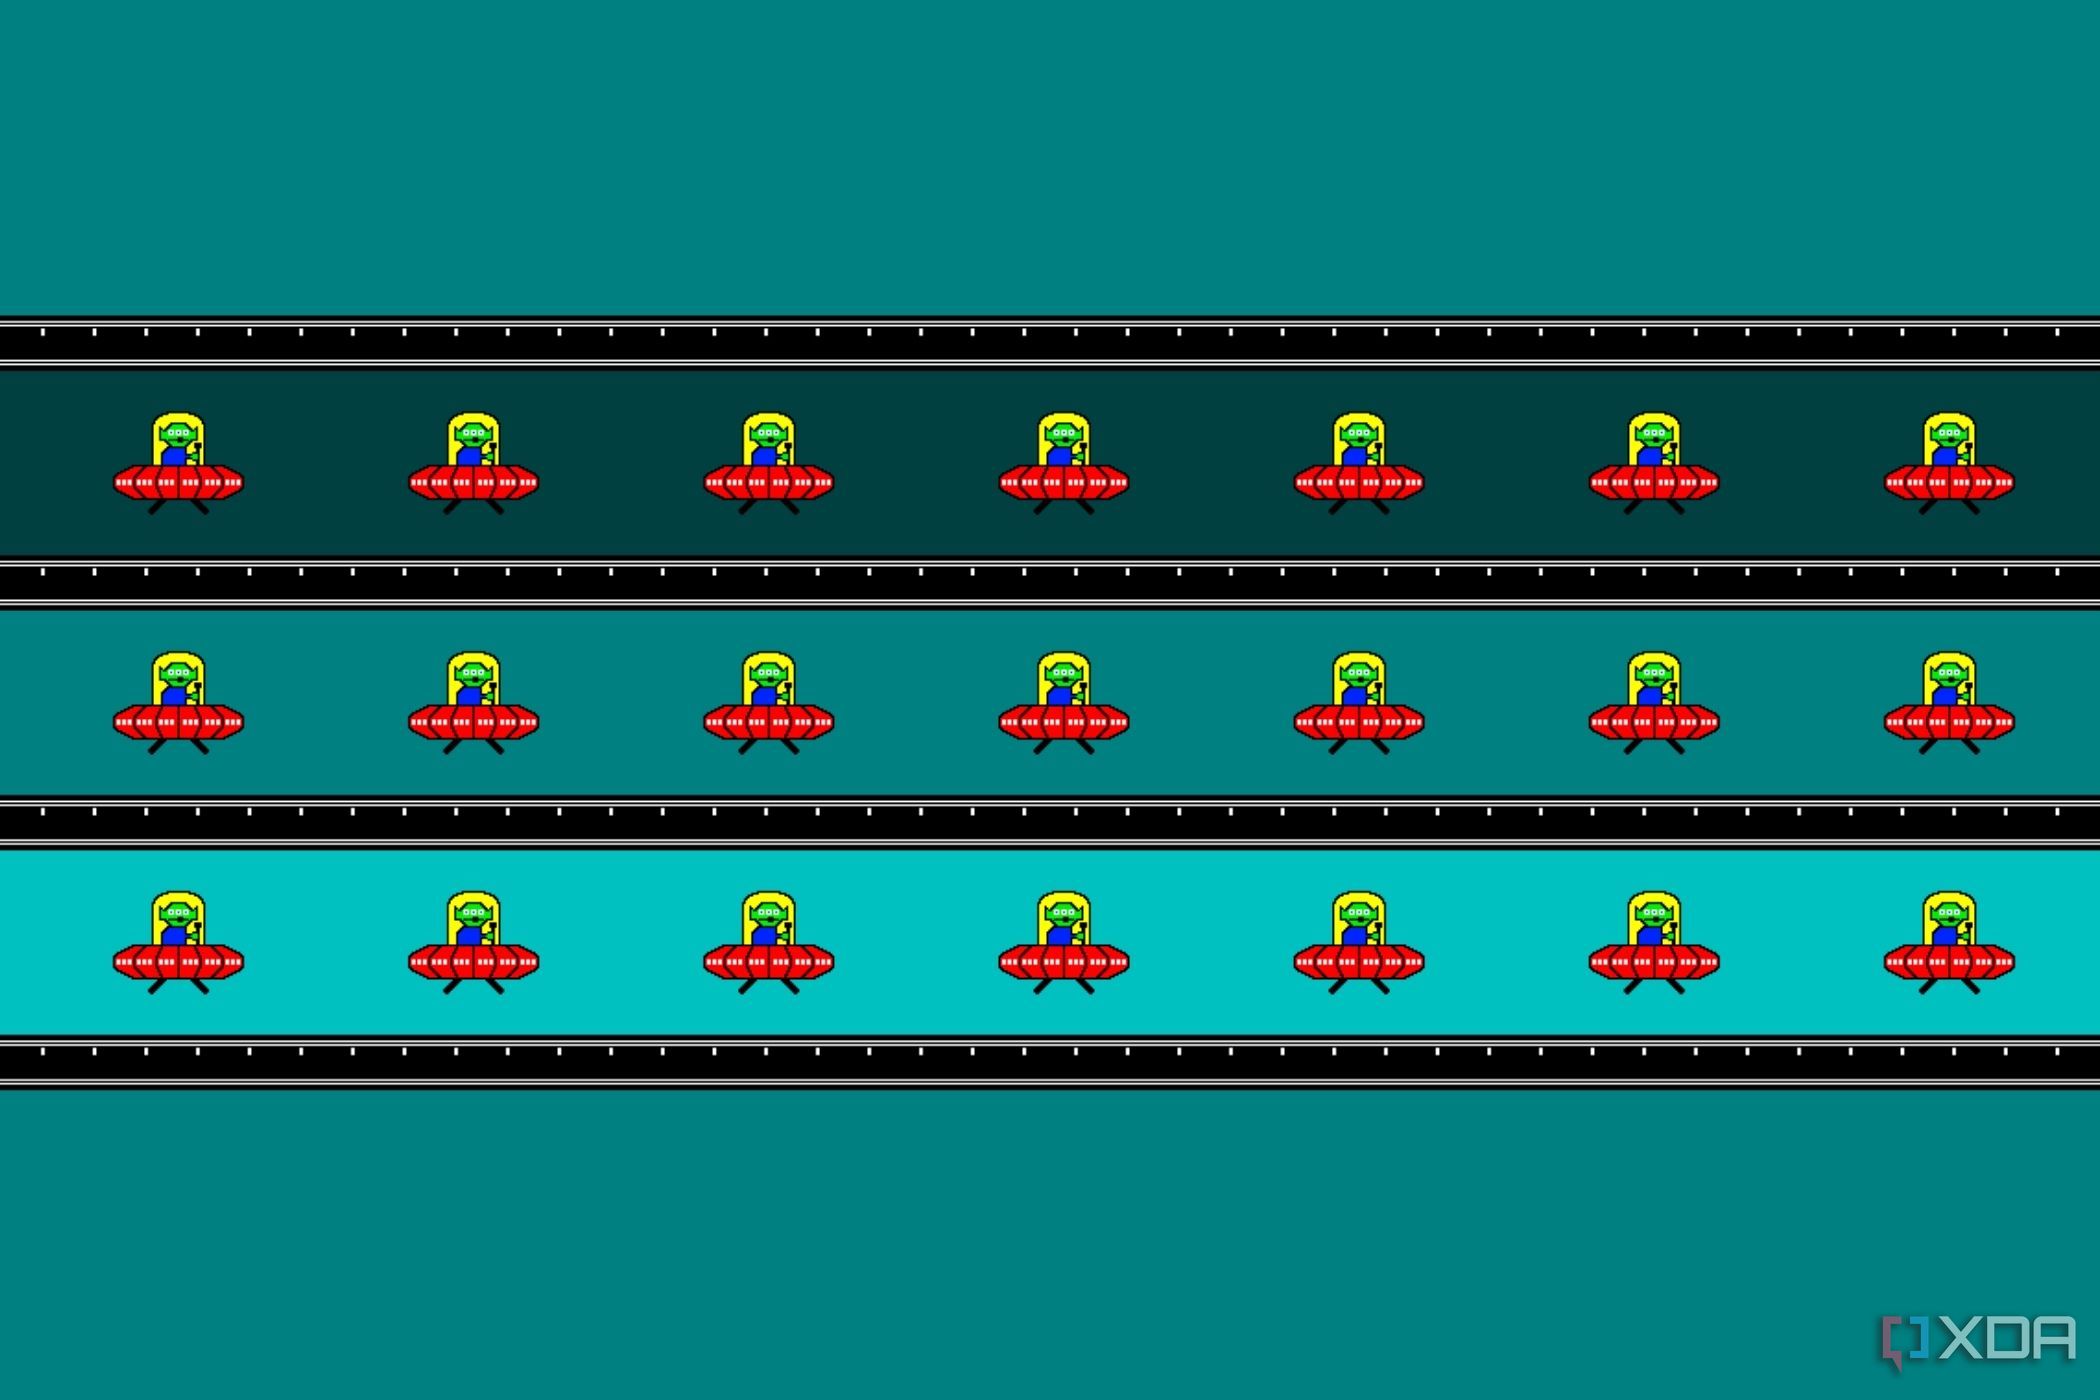
I suggest enabling overdrive on supported monitors, as this helps reduce problems like ghosting and input latency by improving the overall response time of the panel. Applying too much overdrive, however, can do more harm to your experience than improve it, so it’s important to find an ideal spot and then scale back in case you experience more ghosting or inverse ghosting. I recommend the popular moving ghosting UFO test to identify the sweet spot by using a constantly moving image on your display. The trick is to apply different overdrive modes and try them with the UFO test to see which one produces the least amount of ghosting.
3 Leave auto brightness off
Can be very distracting, especially while gaming

I personally find this setting very distracting, as some monitors tend to be more aggressive than others when it comes to auto brightness dimming. I remember having issues with one particular Asus monitor that was way too aggressive with Asus Smart Contrast Ratio (ASCR), causing dark scenes to dim the monitor. I’ve gotten used to turning this feature off by default since then, with mostly satisfactory results. Different monitors list this particular option under different names but make you search for it and manually disable it, assuming your monitor supports this option.
Beyond that, I believe it’s best to stick with a set brightness level when you’re gaming, as constantly changing levels may affect your experience, leaving dark spots in the game over-exposed or under-exposed. As for the set brightness level, I always leave the monitor’s brightness at around 80% while manually adjusting the brightness slide at a software level, depending on what I’m doing. Because most monitors on the market these days can get extremely bright, there’s no reason to crank the brightness all the way up and cause potentially irreversible damage to your eyes. Finding a comfortable brightness setting is particularly important for those who spend many hours staring at a monitor, whether for work or gaming.
2 Gamma curve correction
Make the shadows and highlights look better
Not all gaming monitors have gamma correction settings, but I highly recommend experimenting with these settings and adjusting them if your monitor does. I’ve realized over the years that this setting makes quite a bit of difference in how the visuals look on your screen. The monitors that allow you to adjust gamma settings list them as values that you can tweak. The 2.2 setting is generally recommended as a good point of departure. This setting is particularly crucial for OLED panels, so expect to see it introduced in more monitors over the next few months. An aggressively high gamma value can make the visuals look saturated and dark, while any value that’s too low can make the image lose contrast.
1 Refresh rate and resolution
Don’t ignore the obvious
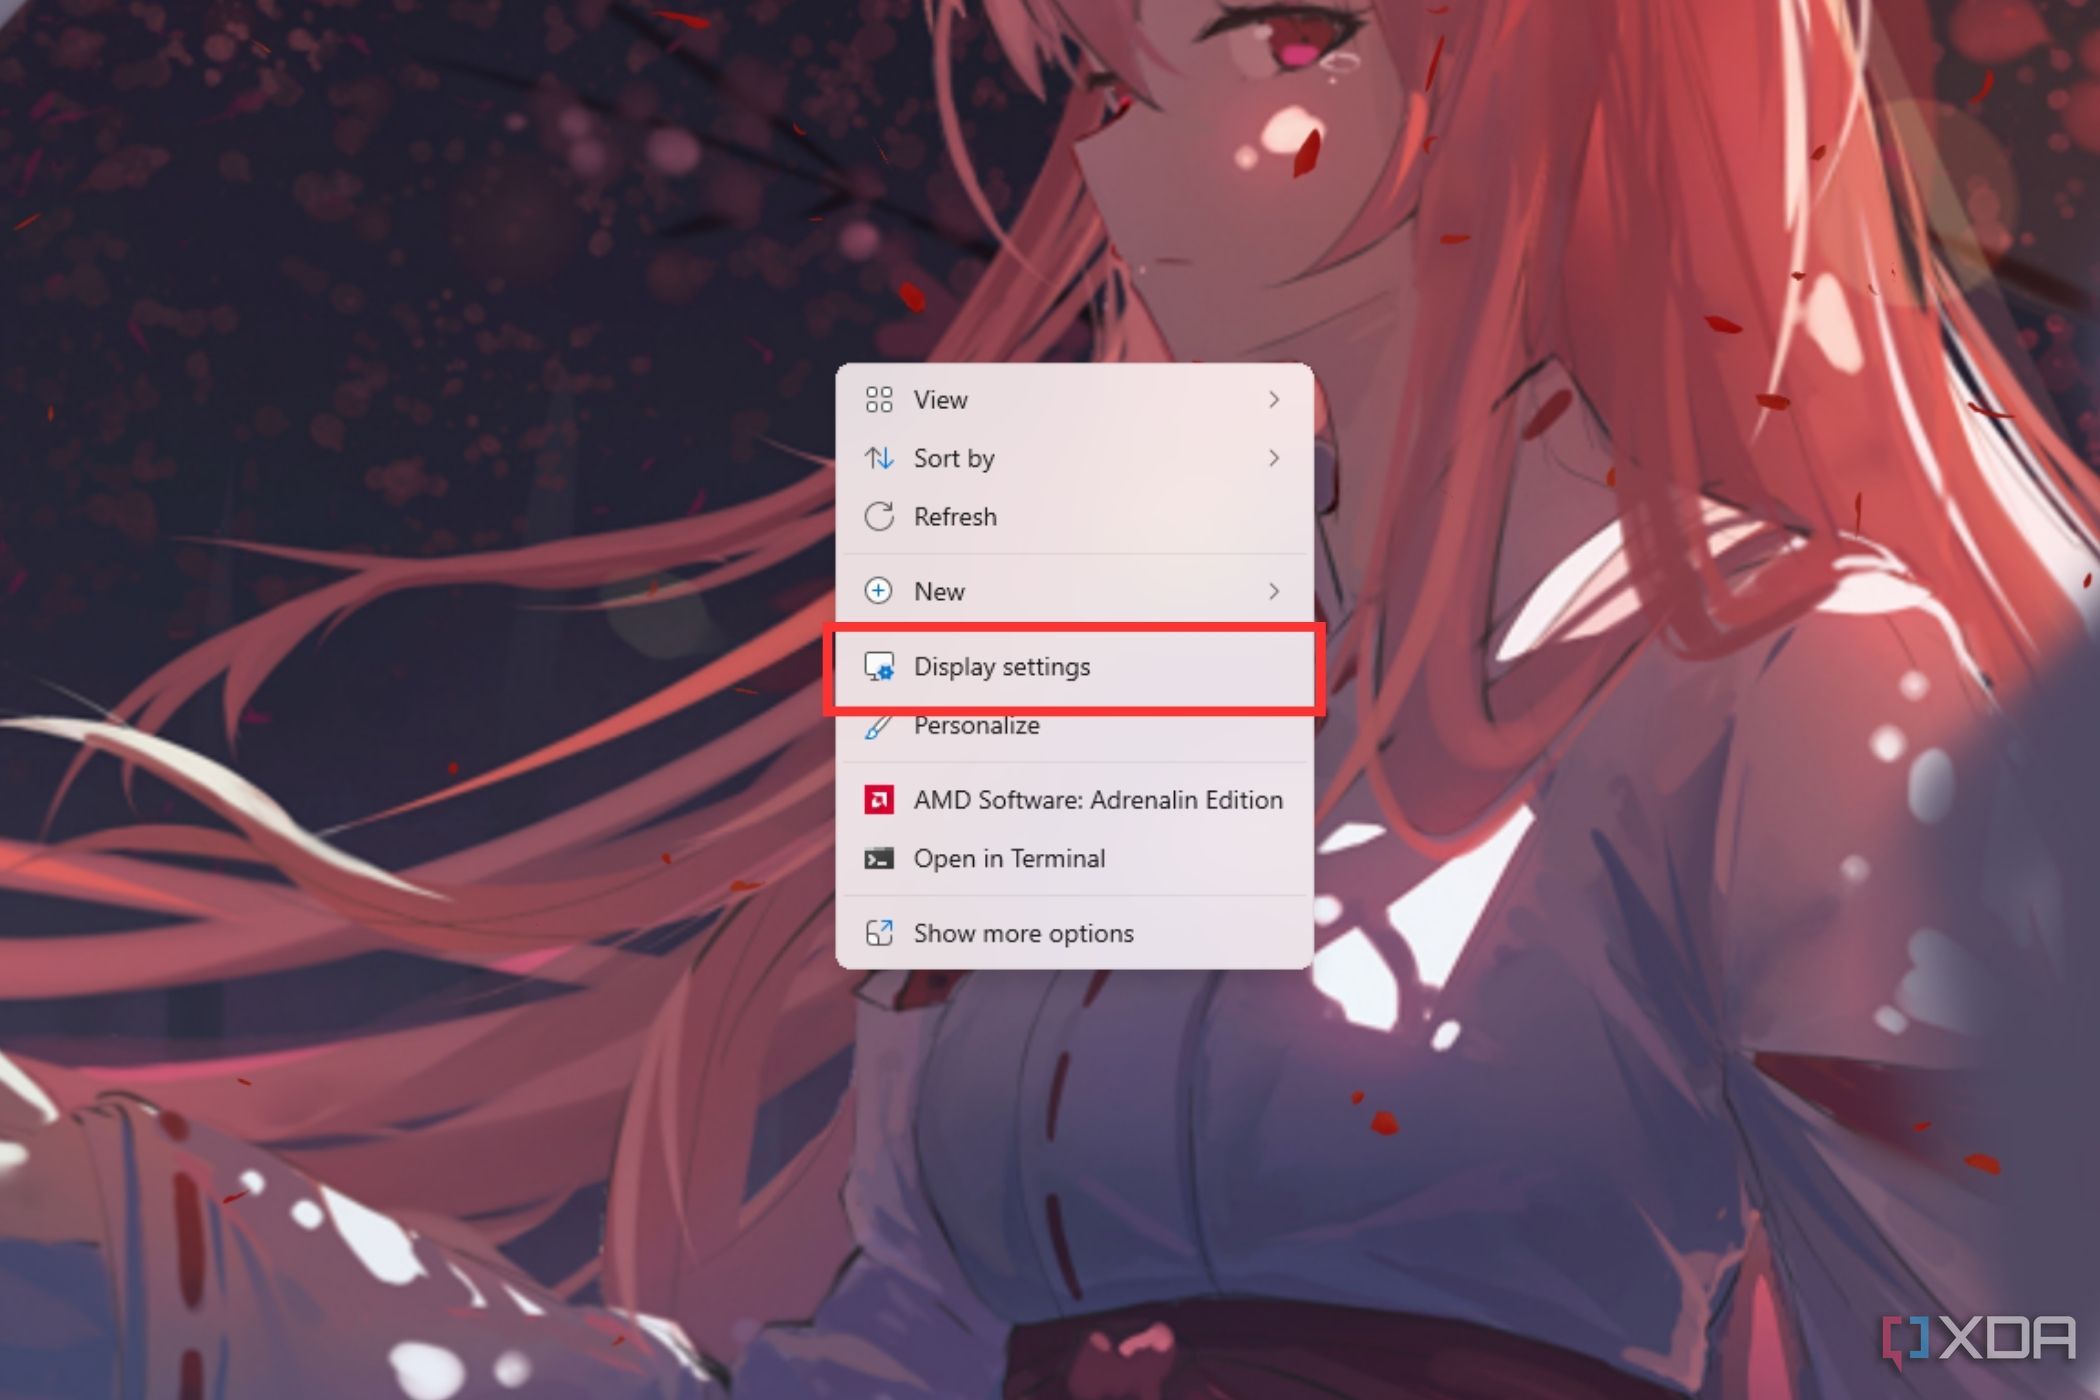
A surprising number of users leave the refresh rate and the resolution of their monitors in the default settings, which isn’t typically the best approach. A lot of gaming monitors on the market default to their best resolution and refresh rate the first time you plug them in, but not all of them do. So consider this as an overall reminder to check the refresh rate and the resolution of your monitor by heading into the Display settings. To change the refresh rate:
-
Right-click on the desktop and select
Display settings
. -
Select
Advanced display
and locate the
Choose a refresh rate
option. - Click on the drop-down menu on the right side and select the right refresh rate for your monitor from the list.
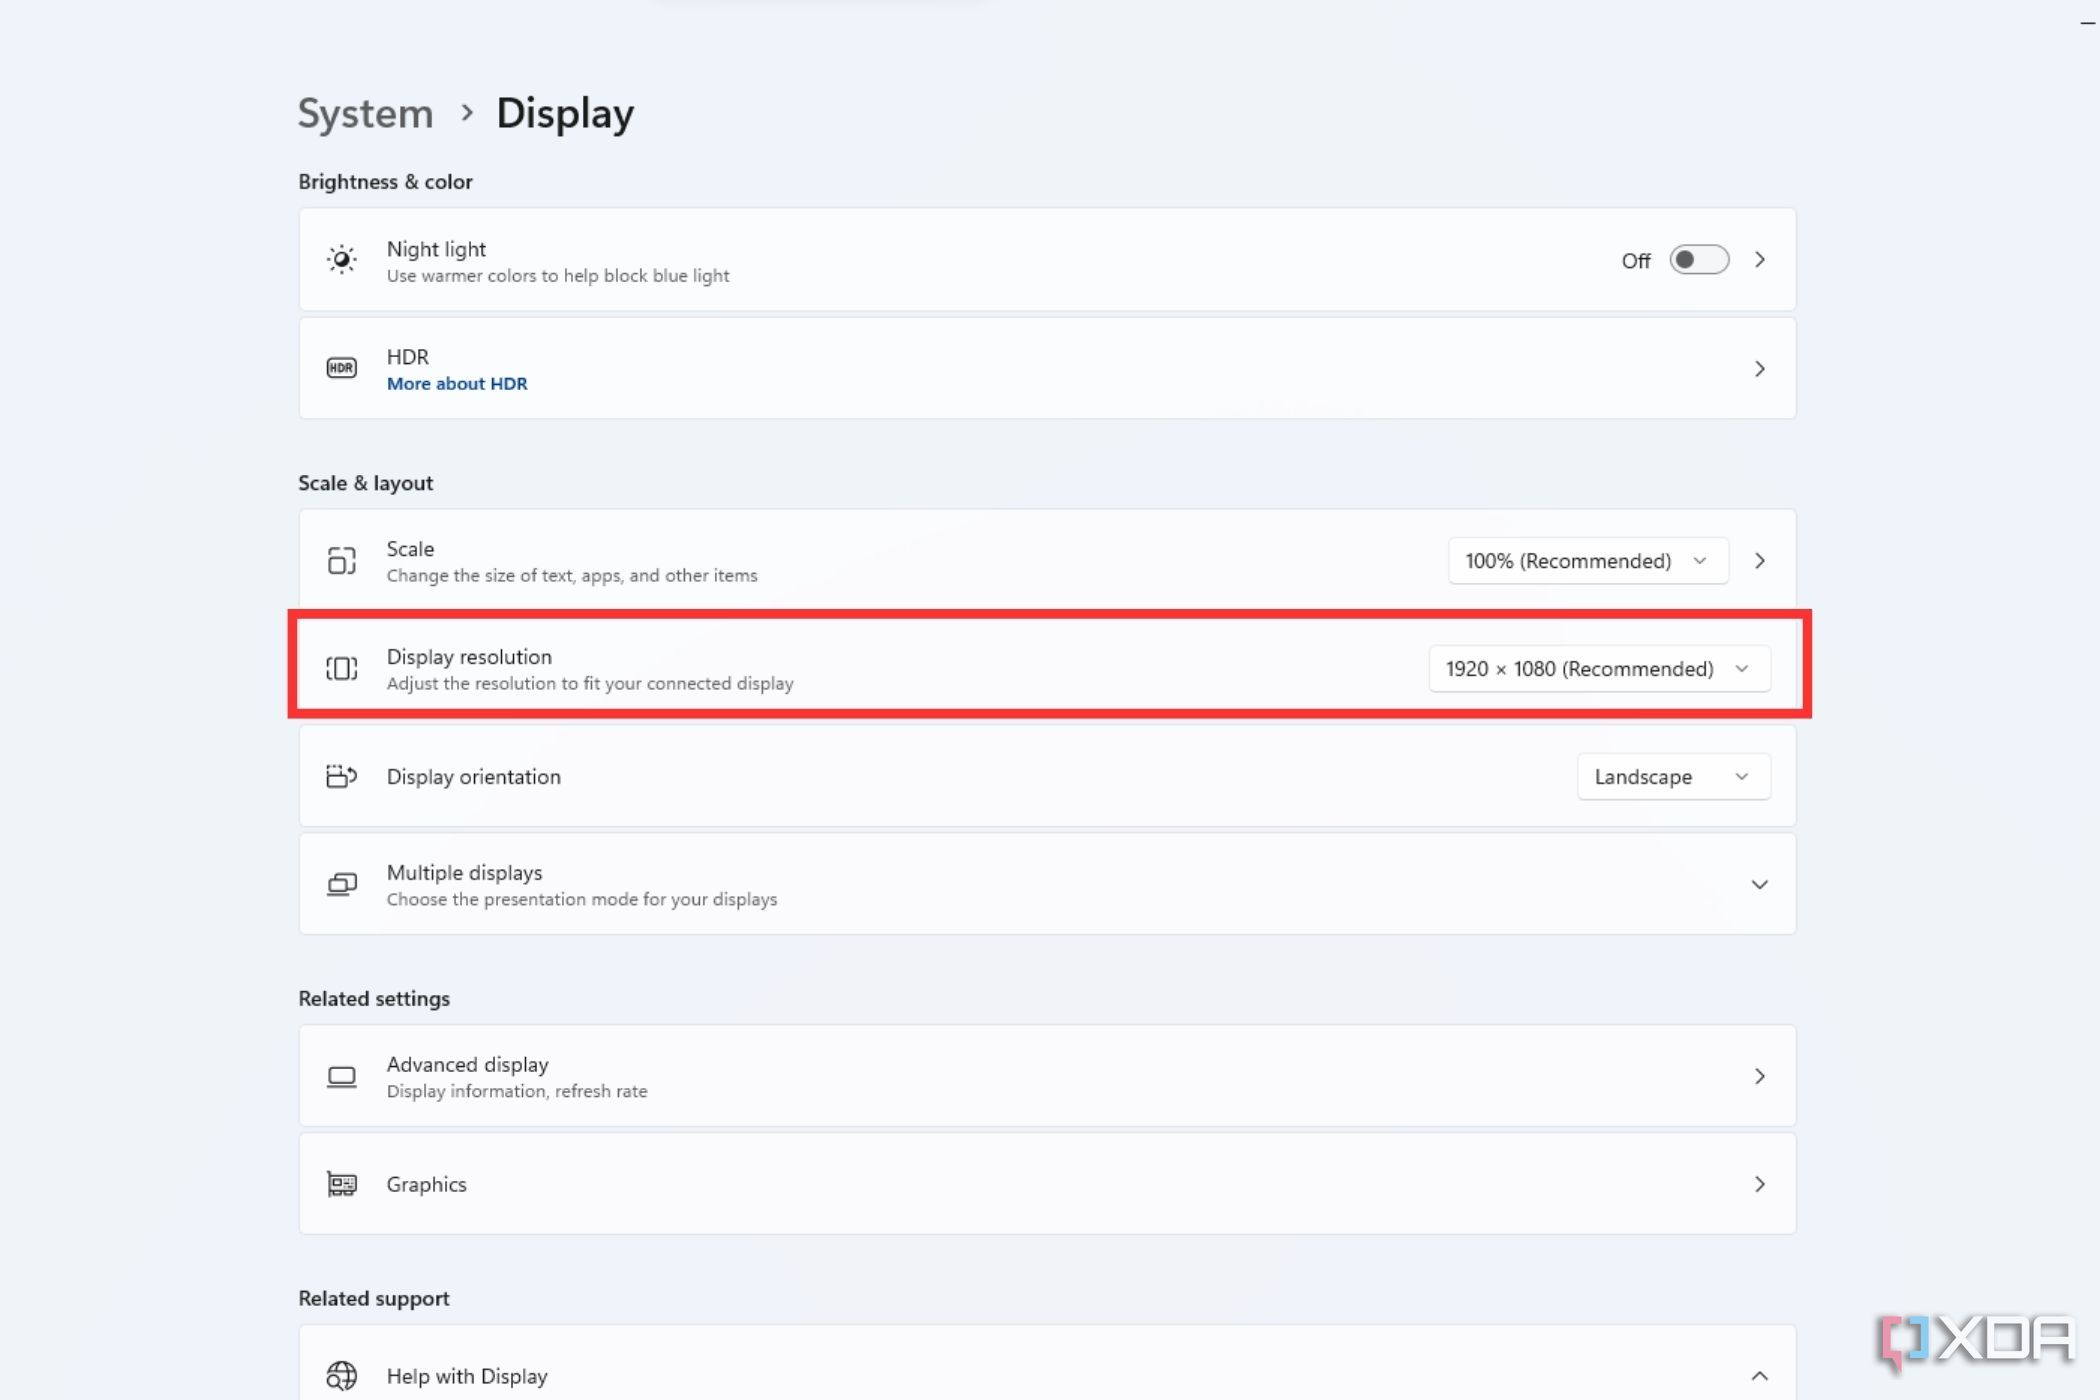
To change the display resolution:
-
Right-click on the desktop and select
Display settings
. -
Locate the
Display resolution
option and click on the drop-down menu. - Select the right resolution for your monitor from the list.
Your monitor isn’t the best it can be out of the box
Those are some settings I tweak without fail on all the gaming monitors I use. I’ve seen too many users ignore the monitor settings and rely entirely on calibrating the visuals at a software level. While there’s nothing wrong with leaving the stock settings untouched on a gaming monitor, I believe manual tweaking is important in attaining the best results. As discussed earlier, even a simple change to the color temperature can drastically improve your experience. Therefore, it’s best to adjust your settings and find the sweet spots as soon as you use your monitor for the very first time.